
First - we have to give credit where credit is due: Here are the tools you'll need:
Sizzix Strip Die - Bats;
EK Success punch - Drops;
Sizzix Tim Holtz Alterations embossing folder - Halloween Words;
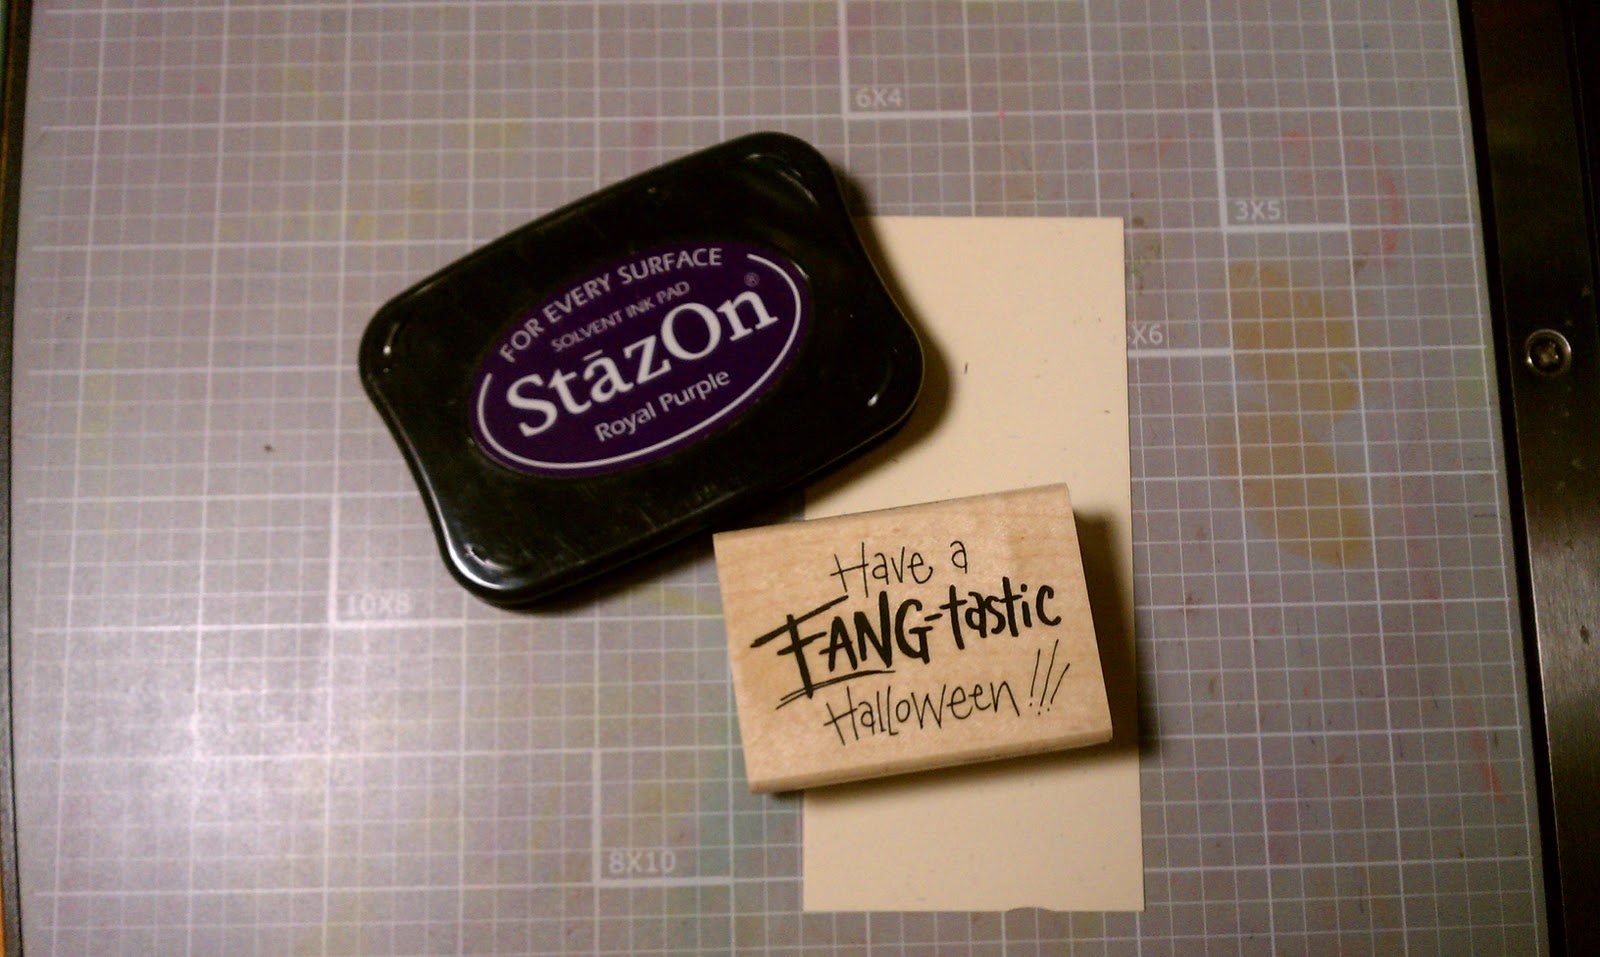
Stampendous H258 - Fang-tastic
Staz-On - Royal Purple
Versa Mark - Grape (not pictured)
Colorbox Re-Inker - Lava Black (not pictured)
Small rubber brayer
Pallet board
Background paper is from Cosmo Crickit, Haunted collection - Macabre
Transparency Film
White, beige, orange, purple, black card stock scraps
Die Cutting Machine - I use the Big Shot. It's my workhorse.

Ok - Let's get started. If you click on the finished card to embiggen it, you will see the transparency overlay over the words. This adds to the interest of the card and makes people say - 'How'd you do that?'
Well - here's how:
Cut your transparency film to fit the folder. There are two definate sides to this stuff. The rough side is meant to take the ink. So always use that side down.

Dribble a little Lava Black ink onto a pallet board and roll it around with the brayer until you get a nice even smudge.


Load the brayer with ink again, and roll it onto the front of the white embossed card.

Layer the transparency over the card stock and attach using a few strategically placed mini-glue dots.

Ink the stamp with royal purple and stamp onto beige card stock scrap, trim close to image, edge with grape ink, and matt with first orange and then purple. Don't use white for this image. You want those fangs to pop, so they should be the only white element to the card.
Ok - if your hands are not clean, go wash them. We want these fangs to be a nice bright white. I had to toss my first set because my fingers were full of ink. Punch out two sets of the fangs using the Drops punch. Make sure your paper does not have an obvious texture as that's usually only on one side. You'll be turning one of the sets over to get the shapes you need for this.

Die cut one of the smaller bats from the strip die using a black scrap. Now you have all your pieces, so let's assemble the card.
I liked the background paper so wanted to show more of it rather than less. Attach the embossed panel to the card as shown and trim off the pieces that don't fit on the front. Layer on the stamped image. Pop up the fangs and the bat with some foam squares. Ink the outer edge of the card with grape ink. Stay away from the transparency with the grape. The front of the transparency will not take the ink and you'll just get it all over your fingers. If you want to add a purple edge to the transparency, you'll have to do it with the Staz-On.

That's It! Hope this was all clear. If you get confused, post a commnt. I'll respond in kind.
Enjoy! - AMK
4 comments:
Love this...unfortunatley I don't have ANY of these suppies to copy this. :(
I'll Share! Also - you may have something in a cricut cartridge to make fangs. Look for a paisley or flower petals.
Ok, here's a dumb question. How do you know which side is the back of the folder to brayer? I have lots of new halloween goodies to play with (you would be proud!!!) but have not had time or energy.
Lynn
Hi Lynn - for this card using the transparency film, lay the folder on your work serface closed and face up. Open the top cover of the folder and brayer the ink onto the side that is now facing you. You should be able to read the words. Remember - this is the side to ink ONLY when working with transparencies. Feel better! AMK
Post a Comment