With paper crafters, it's very common to use some kind of paper masking product or frisket, like Eclipse tape to create a mask. This involves stamping an image and then cutting out a mask for it so that you can stamp other images 'behind' it without over stamping the image you want in the foreground. But, there are other masking mediums to consider.
As paper crafters we L-O-V-E to layer paper. Die-cuts over matt papers over background paper over card base, layer upon layer of paper. It's what makes us happy! Ok, ok...but let's put a pin in that for a minute, shall we?
What if I wanted to build a Valentine without having to layer heart shapes over background paper? Or, I wanted something I could stamp a sentiment directly onto rather than stamping the sentiment separately and layering it into the piece? Enter, liquid frisket! Liquid frisket gives us the chance to go flat, but still be fun and interesting. The red labeled bottle in the photo below is a liquid masking agent, (go to Amazon.com and search for liquid frisket - you'll see a ton of them) that when brushed on and allowed to dry, creates a waterproof mask. The drying time is minimal, about 3-5 minutes. It's completely removable when you are done. It resembles rubber cement in that you can rub it off with your clean finger, or with a clean eraser or adhesive remover tool.
I have a TON (seriously, it's a sickness) of stuff to use for coloring, and, it was high time I started to play with something OTHER than actual water colors. For these samples, I picked Faber Castel Gelatos for the smaller hearts and I used Ranger Distress Ink for the larger piece. All three enjoyed a spray of Picket Fence Distress paint to splatter white at the end. You could splatter with bleach water too, but I hate the smell and am I'm tired of white spots on my clothes.
For the small samples, I cut a heart from scraps and lightly traced it onto some water color paper. Using an inexpensive brush, (I say that because liquid frisket will render the brush useless for anything else) I outlined the heart with a thin layer of liquid frisket, keeping it about an inch wide all around the heart. After it dries, spray the paper with water. This helps the colors blend and bleed. I used a matt knife to snick off a chunk of gelatos and then mixed it with water, using a standard water color paint pallet tray. This makes a puddle of color you can pick up with your brush. Once I liked the look of the piece, I used my heat gun to blast them dry, super fast.
The larger sample in the pic starts out the same way, first you trace, then you lay down the frisket INSIDE the heart this time, paint the area outside the heart, dry it completely, remove the frisket. To get the color inside the heart, Apply a thin coat of frisket OUTSIDE the heart over your now dry paint, and paint as you did before.
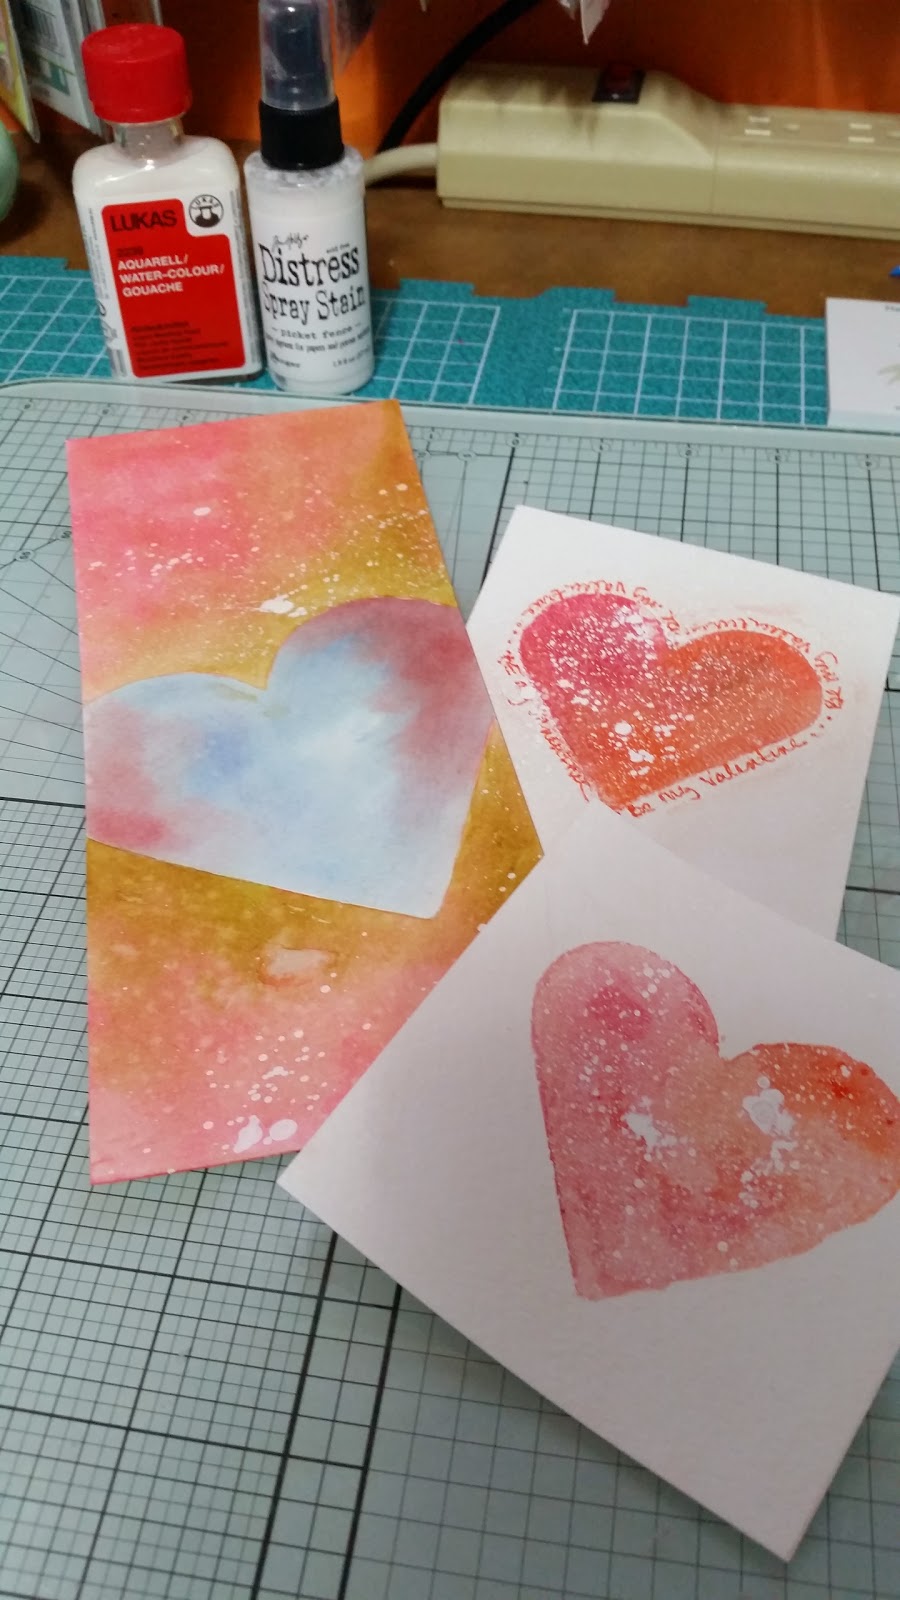
The end result is a clean edged water color heart that you can stamp over, or around as you like. In the case of the larger sample, you've got a card front that looks for all the world like you layered paper to get it, but it's flat. Whoo hoo!
Happy crafting folks! Shout out via comments if you have any questions.
1 comment:
Hi, I was searching around and found your post for the around the block paper tagger, and I was wondering if you can offer me any insight on how to pull out the tags that are already inserted into the gun? I have pulled, pushed and ripped and I cannot remove them. I searched high and low for directions with no luck! Thanks for any help!
Post a Comment